Many of us spend our work days inside, under florescent lighting and staring at a computer screen. But did you know that being outside makes us happier, less stressed, more creative, and more socially connected?
Below, we have listed 3 recommendations for creating an outdoor space that you’re sure to spend lots of time in ….. ENJOYING YOUR LIFE!
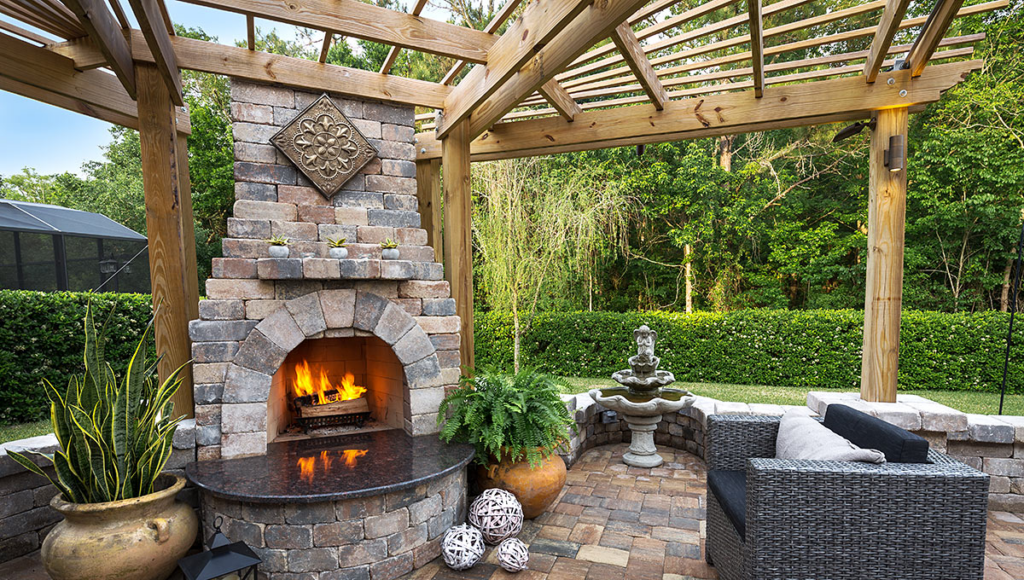

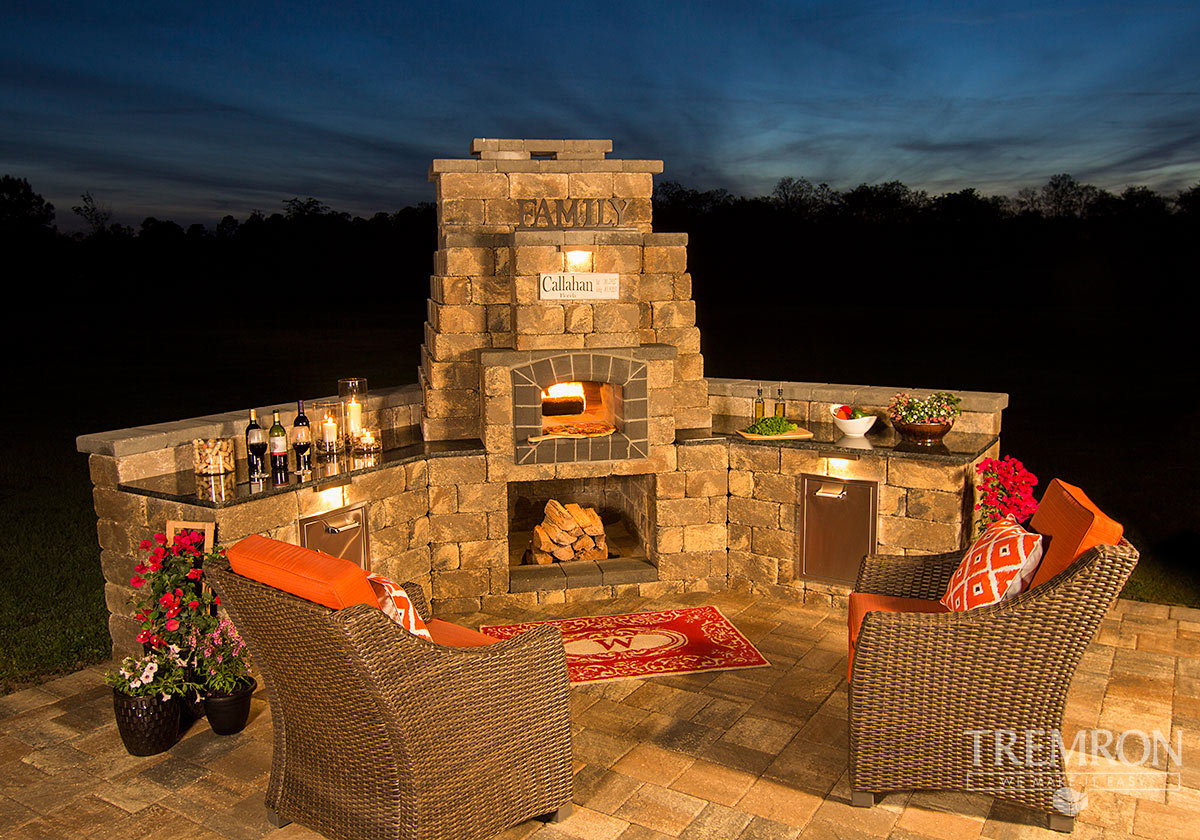
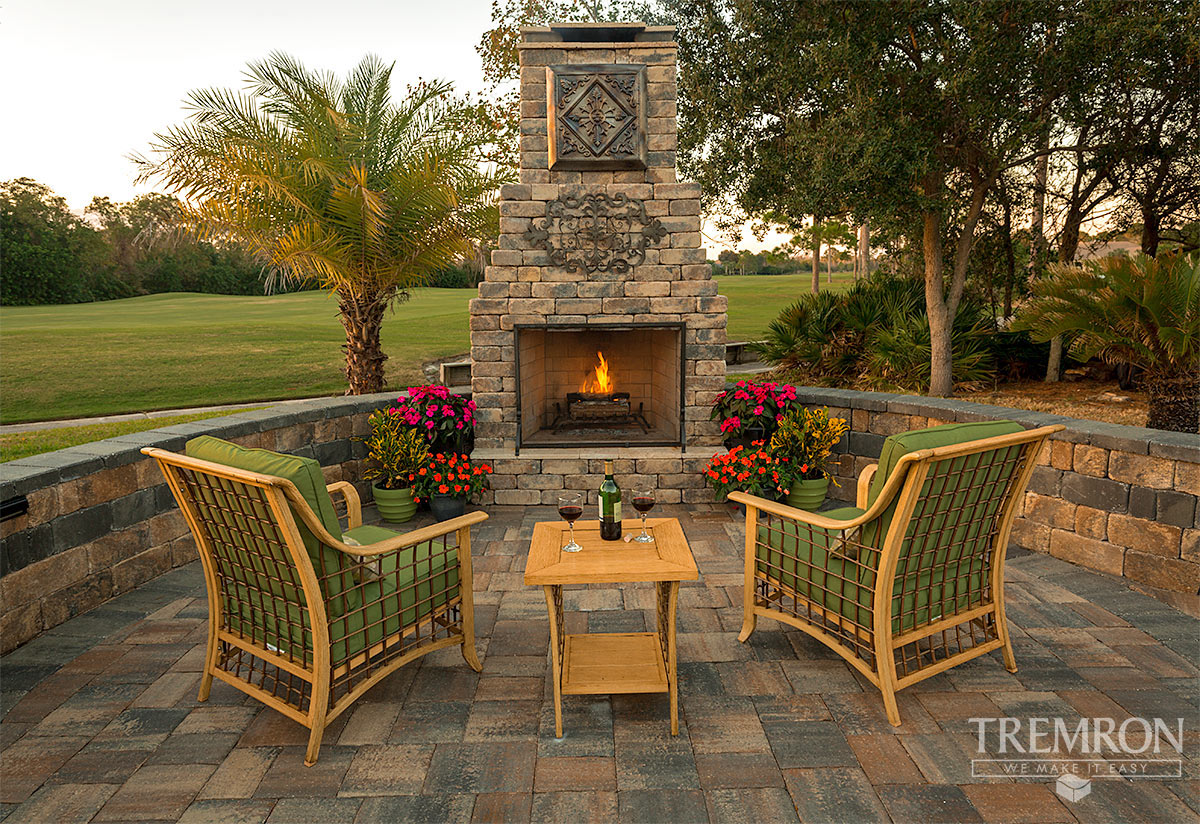
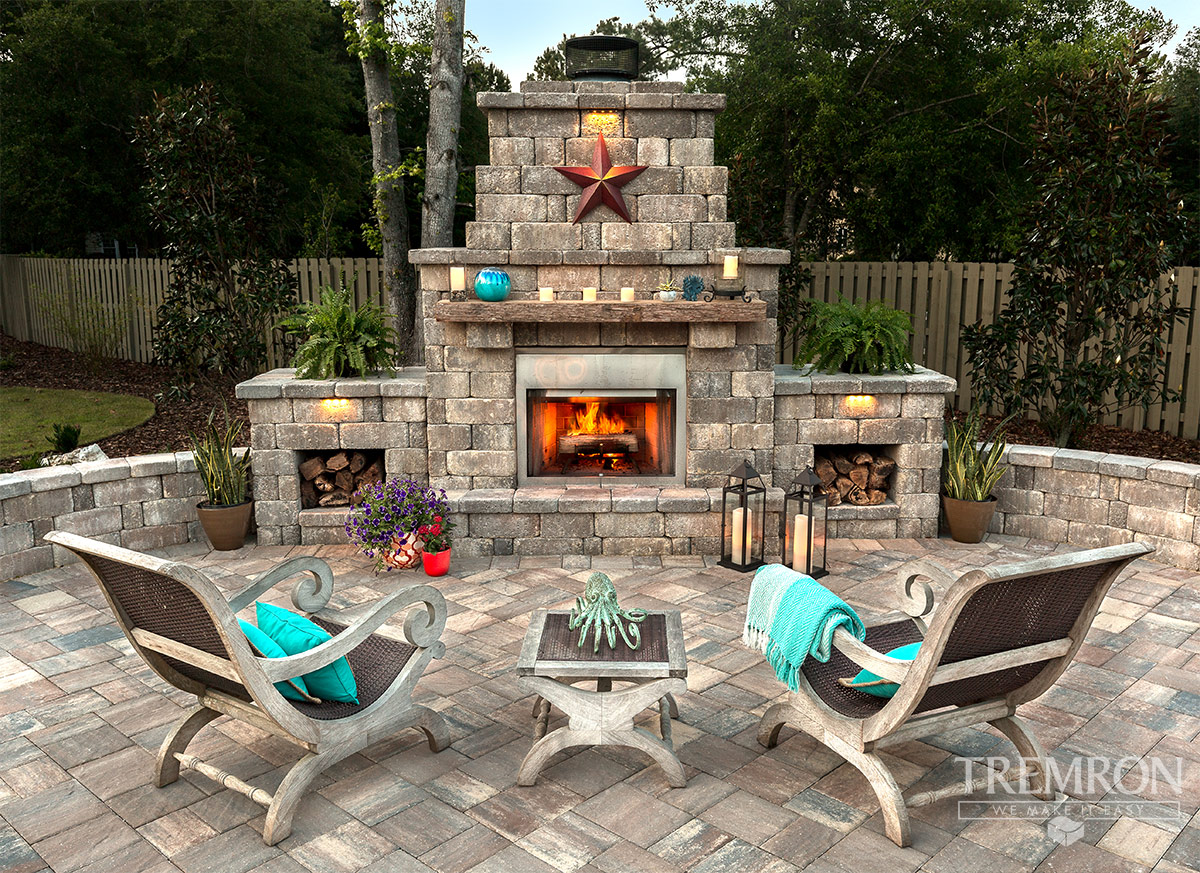
Outdoor fireplaces are a popular option for upgrading a patio – it adds the perfect amount of structure and ambiance to any outdoor space. Because of their popularity, we frequently have homeowners asking us, “How do I make an outdoor fireplace?”
Once upon a time, getting an outdoor fireplace meant paying a highly-skilled mason to scratch build a unit brick by brick, or else hiring someone who would throw it together using some CMU blocks. Now, adding a fireplace to a backyard can be achieved in just 4 steps using a pre-engineered masonry fireplace kit.
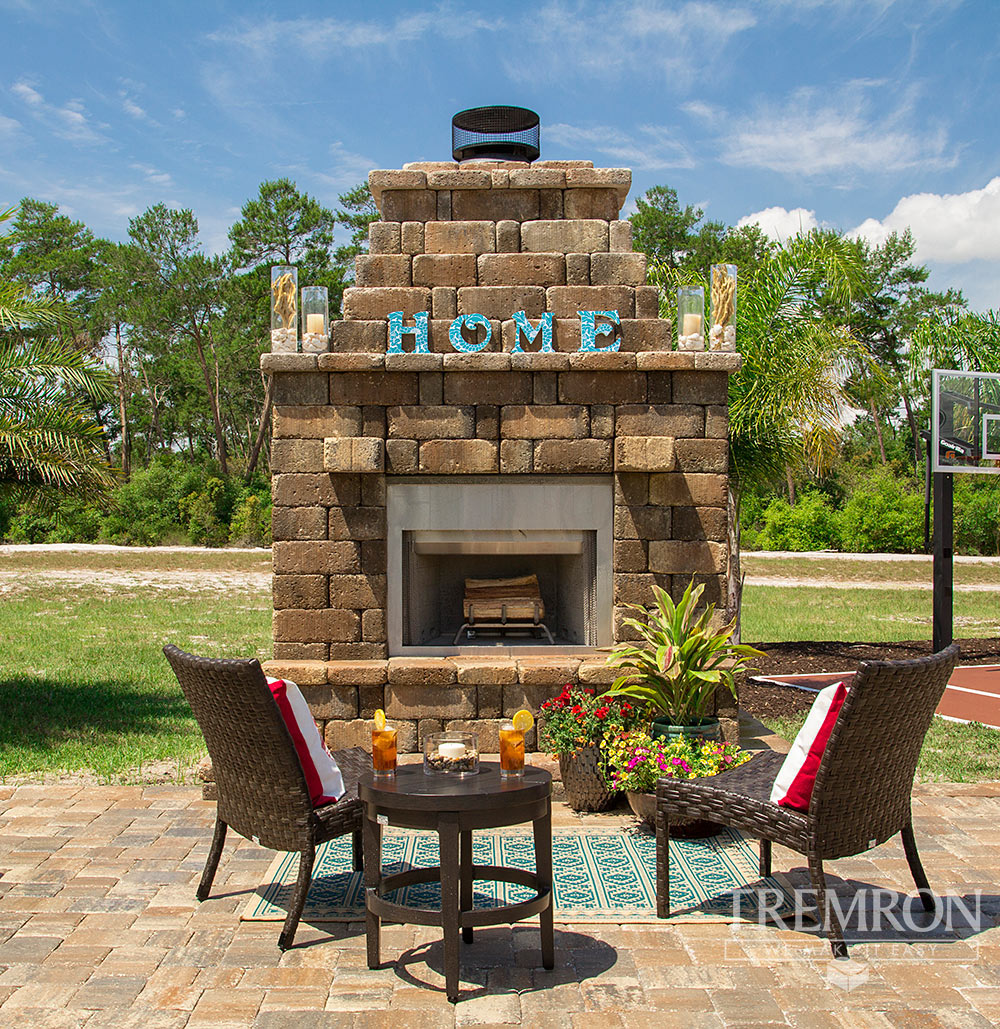
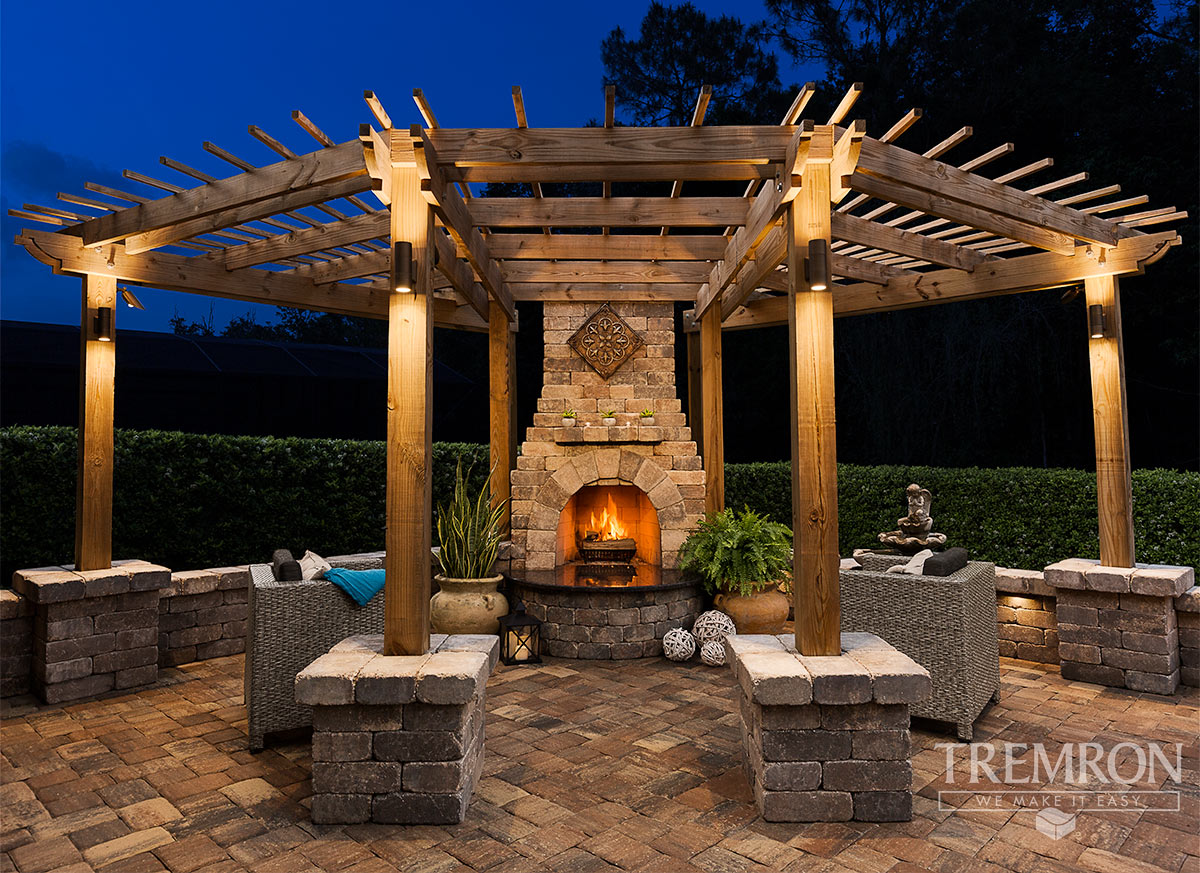
By following the steps below, an entire fireplace project can be completed by 2 people in 3 days.
And that’s it! Using a pre-engineered masonry fireplace kit is the easiest and quickest way to build a properly designed and functioning outdoor fireplace.
Source: Firerock


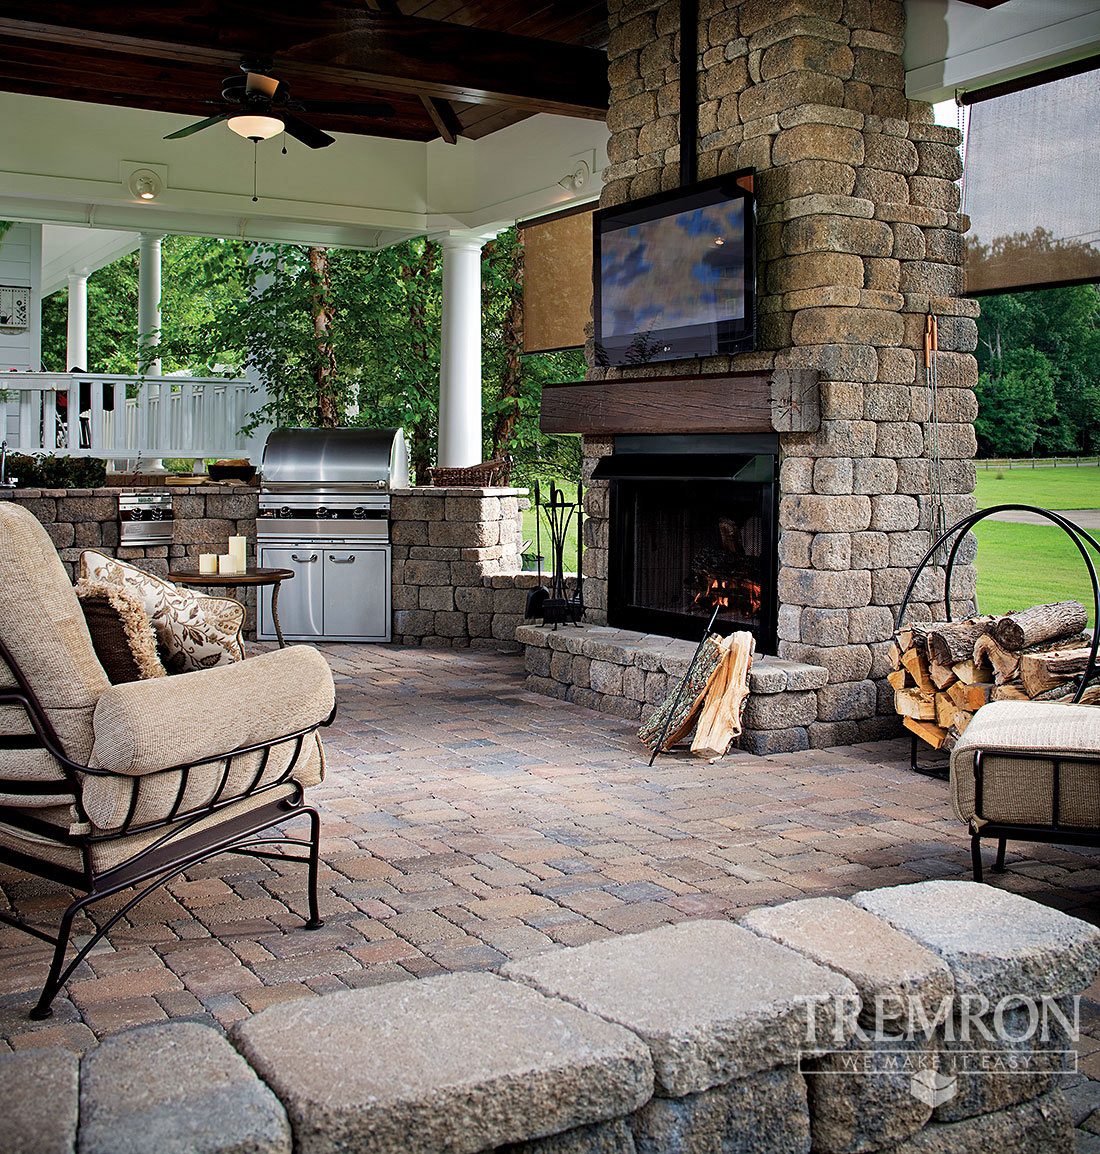
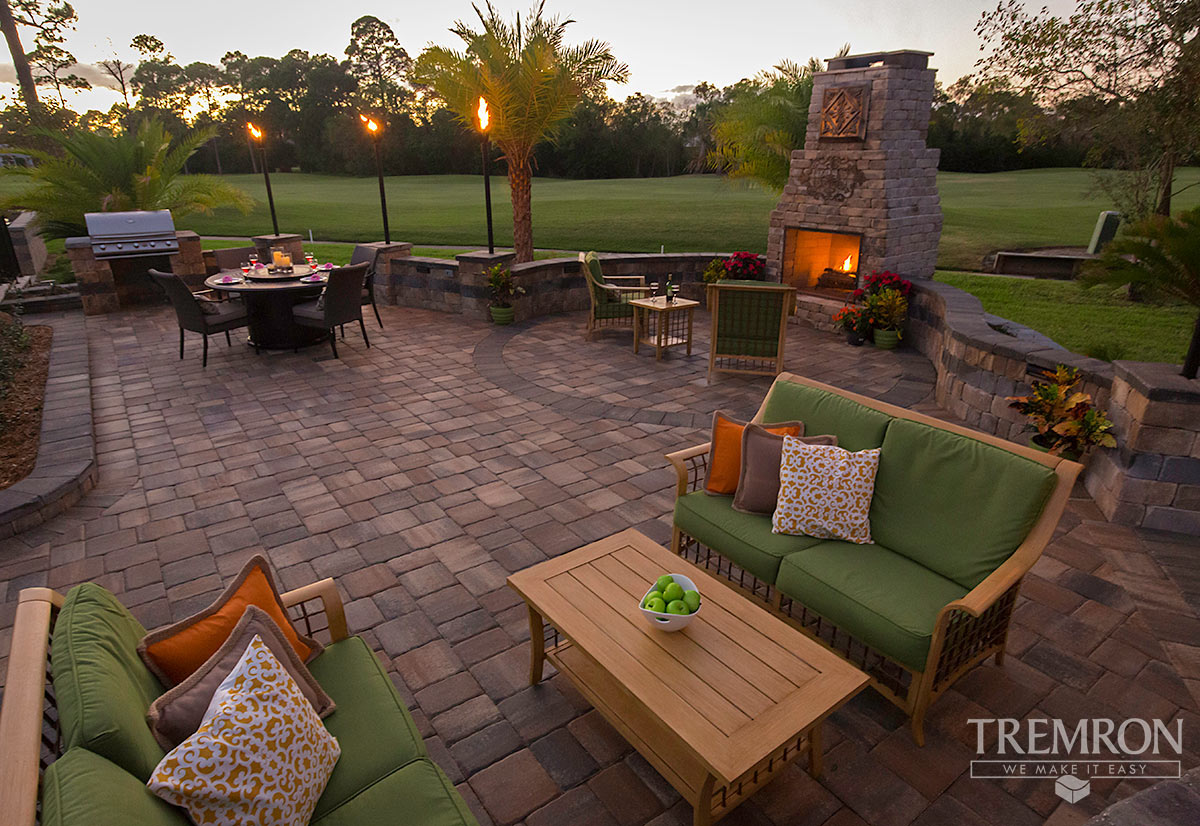
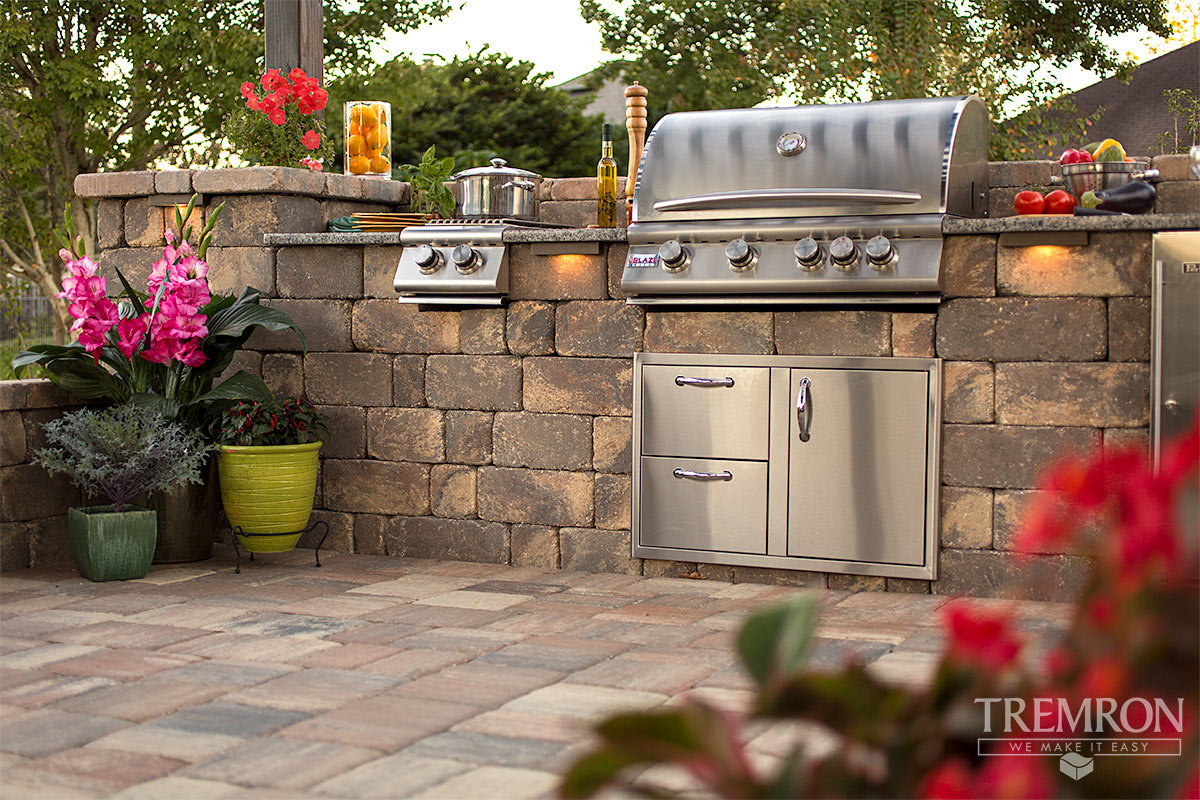
Whether you’re building a new house, or simply making better use of the space you have, creating a place to cook outdoors could be a good investment to make. In the Mediterranean, it is very common to see families cooking outdoors. Today, this style of outdoor cooking has become a popular trend in the United States. Homeowners are learning about the joys of using an outdoor kitchen in their own backyards.
Once you’ve outlined your budget and project scope, it’s time to design!
Designing an outdoor kitchen can be a complicated, highly technical process that must take plumbing, fuel lines, electrical wiring, proper construction, and fire safety into account. To increase the likelihood that your outdoor kitchen will have a safe and successful design, we recommend hiring a contractor.
Step 1: Measure your space.
Using a tape measure, measure the length and width of the space you’re planning to use for your outdoor kitchen. If you’re planning a big outdoor remodel, you can use tape to help you section off areas for dining, entertaining, and cooking.
Step 2: Make a blueprint of your space.
On paper or in an online space planner, make a blueprint of the space available on your patio or in your yard using the measurements you’ve taken. This will help you visualize where and how the kitchen components you want will fit into the space. Once you’ve drawn up an outline, it’s time to start positioning your outdoor kitchen features.
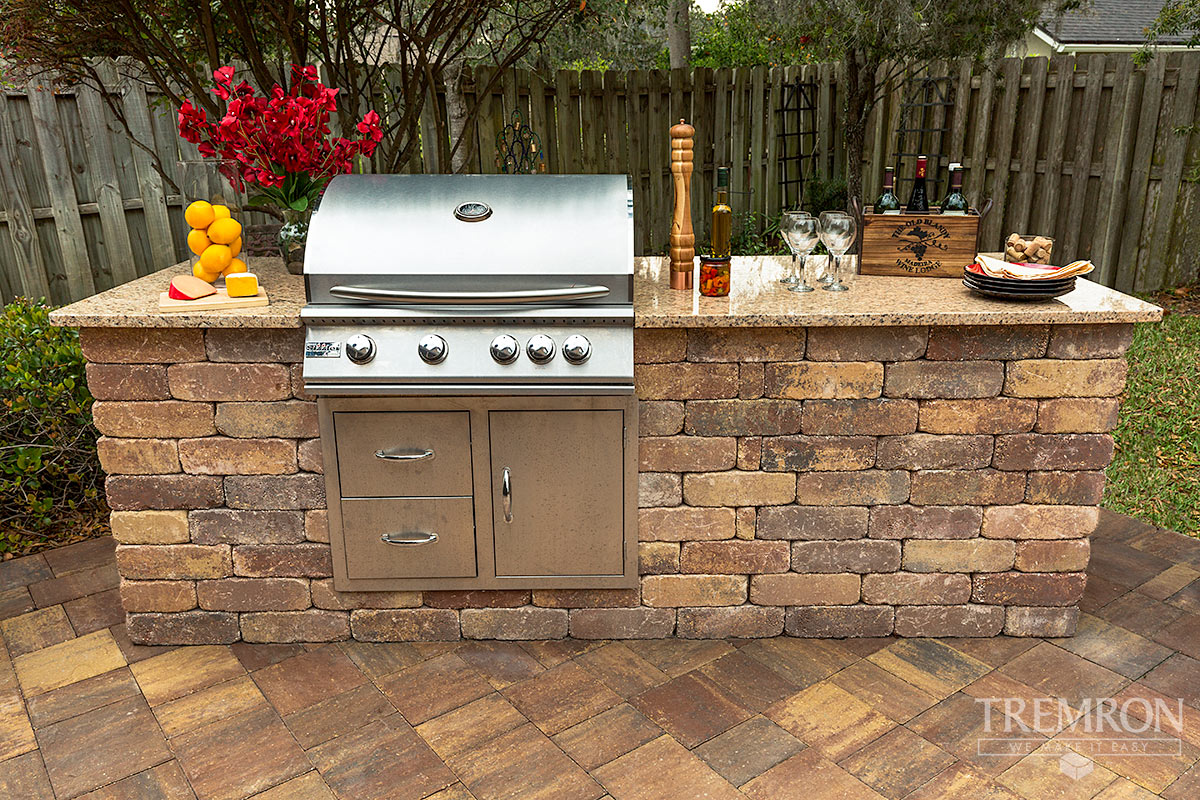
Step 3: Place your outdoor kitchen essentials.
At this step, roughly outline where you’d like your outdoor kitchen furniture and accessories to go as a guideline for when you shop later on. Start with the basics: flooring, countertops, and any built-in features and appliances.
Many outdoor countertop units come with built-in grills, sinks, storage, and other features. You can also make cutouts in outdoor kitchen islands or modules for appliances, so it’s a good idea to start by blocking out space for those units.
Keep utility lines in mind. Whether you’re connecting them to your existing systems or installing new ones, your outdoor appliances will need access to fuel or power lines.
When designing your outdoor kitchen, be sure to leave a length of at least 12″ of countertop space beside any grills and stove tops and at least 18″ beside any sinks. These appliances should not be placed at the very end of a countertop unit. We also recommend installing a length of at least 24″ of open counter space for food preparation. All countertop space should be at least 24″ deep.
Also note that grills and refrigerators should not be directly beside, above, or below each other.
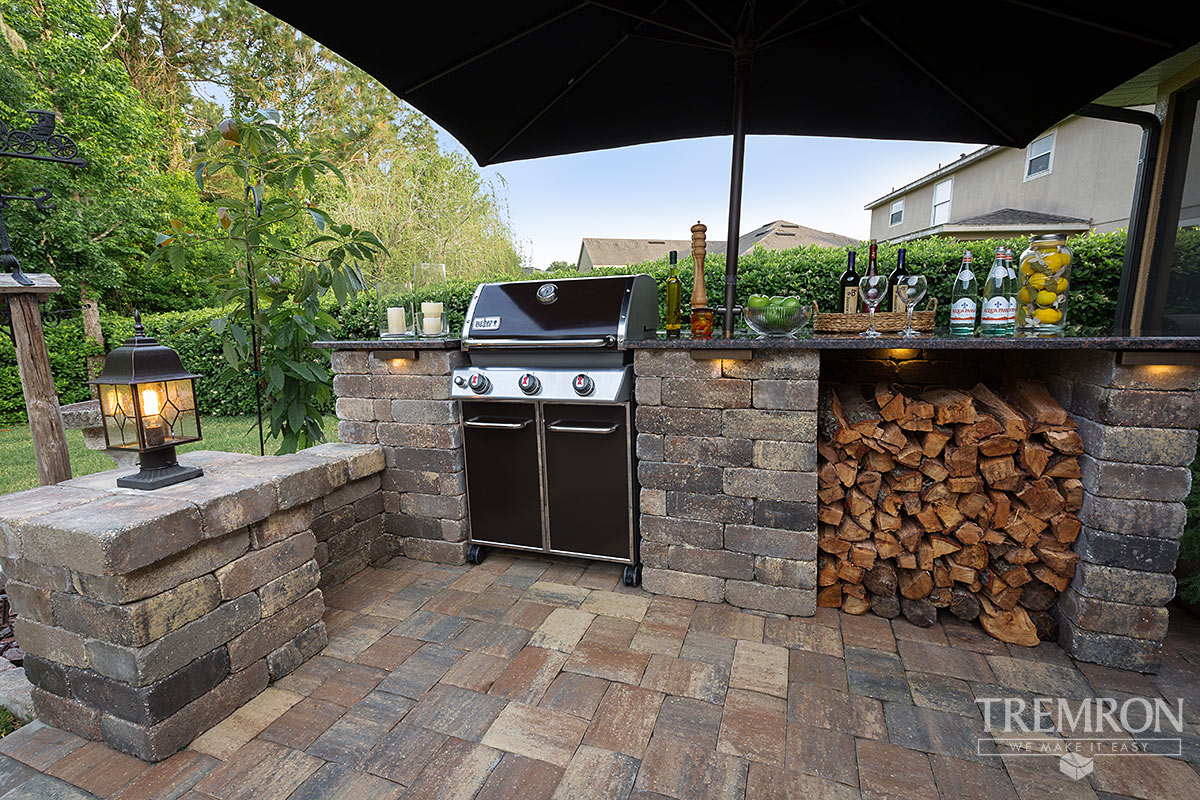
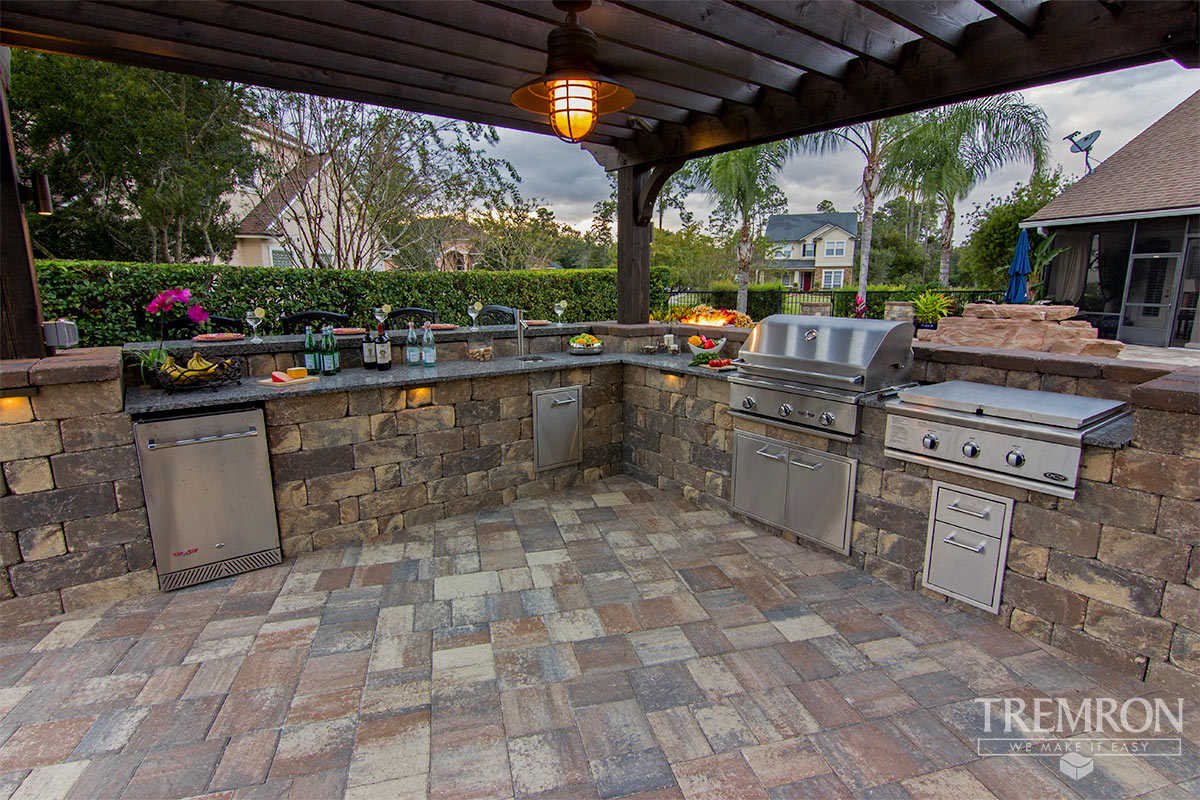
Step 4: Place secondary outdoor kitchen features.
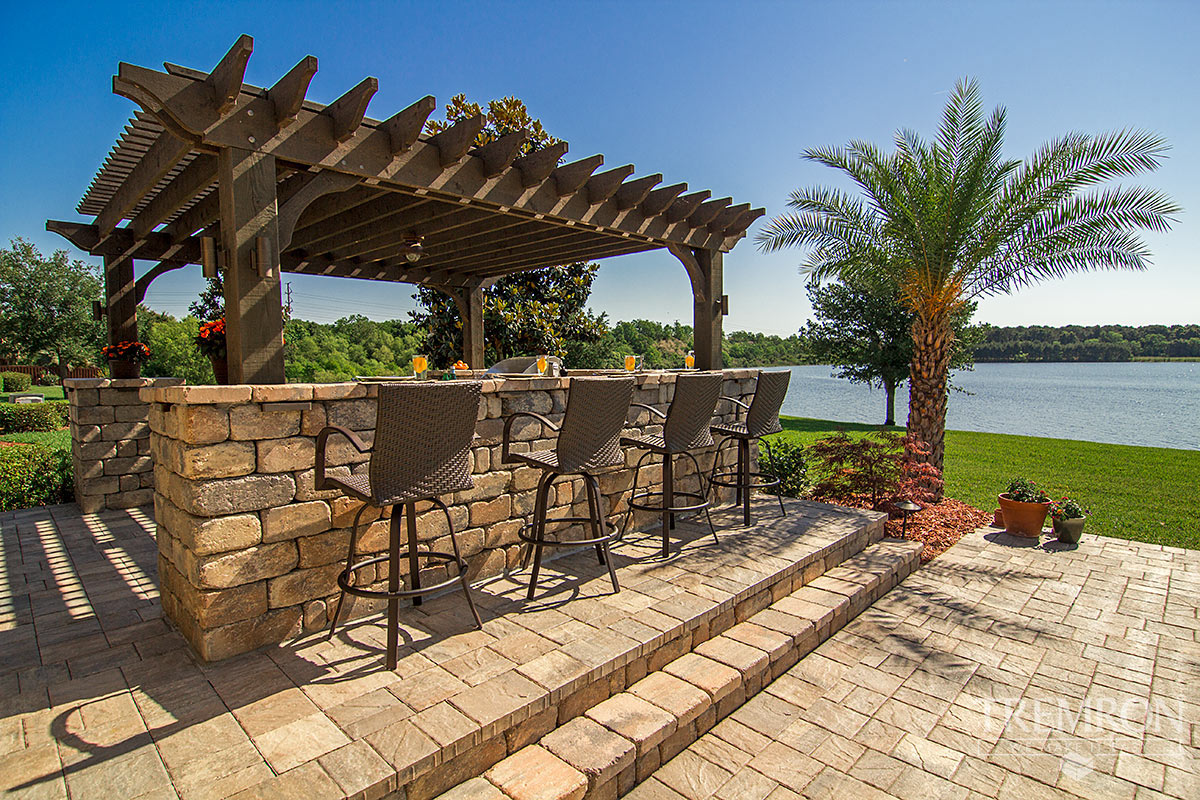
With the essentials in place, you can start placing additional features in the remaining space. Think about placing a bar and bar stools adjacent to a kitchen island or, if you have less space, opt for a bar cart. If you sectioned space for a dining or entertainment area, now is the time to plan where you want to place your dining tables, dining chairs, or lounge chairs.
Lastly, outfit your outdoor kitchen with shade structures, lighting, and decor.
Source: wayfair

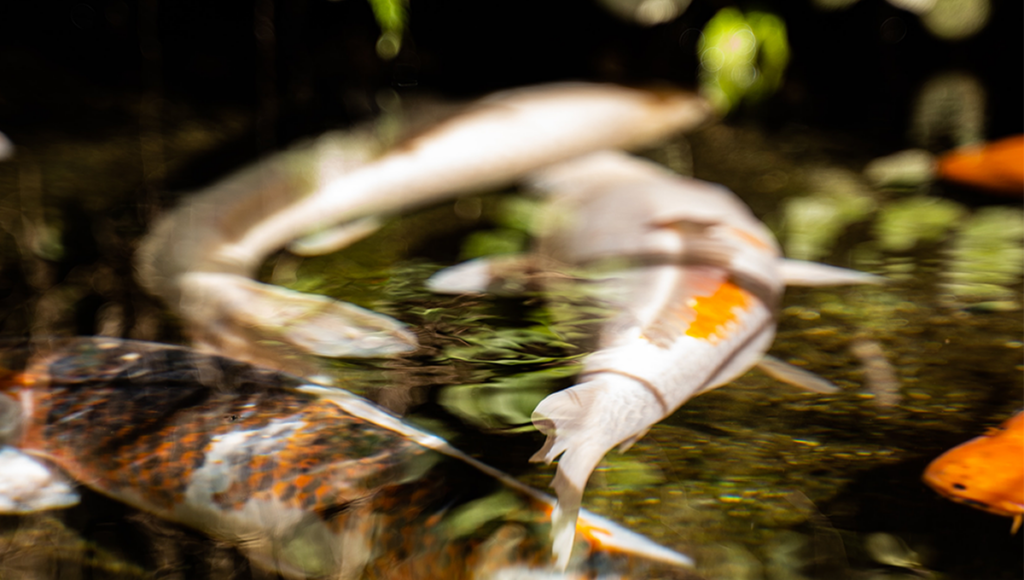

By having a koi pond in your backyard, you can bring the exotic serenity of the far east into your everyday life. Koi ponds are often created and designed to bring a relaxing and peaceful energy to homes. Koi pond owners have reported stress relief, relaxation, and higher property values as some of the incredible benefits of koi ponds.
Steps to create your own Koi pond:
Start by selecting the proper place for your Koi pond. If your pond is close to the house then it could be enjoyed more. Consider this, Koi ponds do better in a shaded area than in full sun. Full sun will work, but a shaded area will generally slow the algae growth down and will prevent the water from possibly getting too hot during the summer months. Keep in mind you want your pond to be in a place where you can see from both outside and inside the house.
Determine how big you’d like your pond. Trace it out on the ground. One of the most common mistakes people make with their first pond is that they build it too small. For Koi fish, the smallest pond recommended building is 1500 gallons. That may sound huge to many beginners, but most people who already have a Koi pond, will agree that if you build a pond much smaller than that, you will not be happy with it.
A bacteria tank and some kind of circulating water is your next step. Part of the pond construction will include a bacteria tank used to keep Koi alive. Koi create a certain type of necessary bacteria, which keeps the water conditioned for them. These tanks help that bacteria thrive. People usually use the bacteria tanks as a waterfall to run over rocks and down into the Koi pond. A waterfall or some kind of circulation is needed in order to keep the Koi alive. Use the dirt from the hole you dug to create the ponds waterfall.
Cover your newly dug hole with your liner. Liner should extend about a foot out of your hole. Anchor with large rocks. Smooth out liner as best you can. Make sure if you’re walking around in the pond, not to rip your liner.
Install your water pump. Be sure the pump has enough power for the size of your pond. All ponds and waterfalls need a circulating pump. These come in many different sizes according to how high you need to pump the water and how fast you want the flow rate. The pump will need to be placed in the pond, but it needs to be off the bottom of the pond floor by an inch or two. This keeps the pump from sucking up sediment.
Install your water filter. The filter is the heart of your Koi pond. The filter is what keeps the water clear and healthy for the fish. Many ponds have failed because the owners spent all their money on a beautiful pond and tried to save money on their filter. The filter serves two purposes. One, it serves as a mechanical filter removing fish waste and anything else in the pond that would cloud the water. Two, it serves as a biological filter by converting the ammonia produced by the fish into nitrites and eventually into nitrates which, in general, are harmless to the fish.
Add rocks to your Koi pond. Make sure they are safe for fish. Don’t use decorative, colored ones that are used for other purposes as they may kill your fish. You will also need to use smoother rocks on the sides and bottoms, because Koi are curious and rooting fish. They have a big risk of getting injured if you have sharp or pointy rocks.
Fill hole with fresh water. Make sure pond retains water before putting in plants (if desired, and available at your local garden store).
Start to add plants to the pond if wanted. Some people will argue that you must have plants in the pond because the plants are necessary to consume the nitrates that build up in the pond. That would be true if it weren’t for all the algae that naturally forms in a pond. A healthy pond will normally develop a ¾ inch layer of green algae on all the inside walls of the pond. This algae, which feeds on nitrates just like pond plants do, is usually more than sufficient to keep the nitrates at a safe level. Keep in mind plants can take awhile before they start to take hold and look healthy.
Wait the proper time then add your Koi fish. If pond is retaining water, you will need to wait for a few weeks before you put the Koi in. It’s important to let the water circulate and build up some sediment.
Source: SunSentinel

Mon- Sat: 8 AM-5PM
256-852-7335
7004 N Memorial Pkwy Huntsville, AL 35810
Your ultimate outdoor living destination. We carry everything from grills, smokers, bulk landscape materials, hardscape materials, patio furniture, statuary, water feature and pond supplies, fish and more. Located in Huntsville, Alabama.
Join the VIP list to be the first to hear about exclusive savings and all of our best tips for outdoor living
Copyright © Across the Pond, 2021. All Right Reserved.
Template Kit by Jegtheme. Customized by J. Alexandria Creative.
| Cookie | Duration | Description |
|---|---|---|
| cookielawinfo-checkbox-analytics | 11 months | This cookie is set by GDPR Cookie Consent plugin. The cookie is used to store the user consent for the cookies in the category "Analytics". |
| cookielawinfo-checkbox-functional | 11 months | The cookie is set by GDPR cookie consent to record the user consent for the cookies in the category "Functional". |
| cookielawinfo-checkbox-necessary | 11 months | This cookie is set by GDPR Cookie Consent plugin. The cookies is used to store the user consent for the cookies in the category "Necessary". |
| cookielawinfo-checkbox-others | 11 months | This cookie is set by GDPR Cookie Consent plugin. The cookie is used to store the user consent for the cookies in the category "Other. |
| cookielawinfo-checkbox-performance | 11 months | This cookie is set by GDPR Cookie Consent plugin. The cookie is used to store the user consent for the cookies in the category "Performance". |
| viewed_cookie_policy | 11 months | The cookie is set by the GDPR Cookie Consent plugin and is used to store whether or not user has consented to the use of cookies. It does not store any personal data. |